You wish that once you get your piano tuned, it would stay in tune! (I don’t wish that because I’d be out of a job, but I do wish pianos would stay in tune longer!) Why do pianos go out of tune? And why do some pianos hold a tune so much longer than others? Here are three main factors that contribute to a piano’s tuning stability:

- The Environment
- The Piano
- The Technician’s Skill/Technique
The environment is the most important factor in helping most pianos hold a tuning. Humidity changes are a piano’s worst enemy. Pianos are 80% made of wood which absorbs and dissipates water as humidity fluctuates. Piano soundboards have a “crown,” being higher in the middle than they are on the edges. When the soundboard absorbs moisture, the wood gets bigger, and since the soundboard is locked within the cast-iron plate, the crown will rise. When the crown rises, it raises the bridge the strings pass over increasing the tension on the string, raising the pitch and putting the piano out of tune. If the air dries out, the opposite will occur. Pianos often go flat in the winter as we turn our our heaters.
The temperature of the room makes a difference as well. I was once tuning a grand and the air conditioning came on. It was blowing straight on the strings. The cold air chilled the steel strings, shrinking the metal and made the piano go sharp as I was working on it!
On the other extreme, I tuned a piano in a second story music studio that had no air conditioning. It easily got up to 90 degrees during summer days and cooled down to mid 50’s at night. Even a wonderful piano with a very careful tuning won’t stay in tune for more than 24 hours in those conditions!
Climate control is very helpful in keeping your piano in tune. If you can keep the humidity between 45% and 55% and the temperature fluctuating no more than 10 degrees, your piano will have a much better chance of staying in tune.
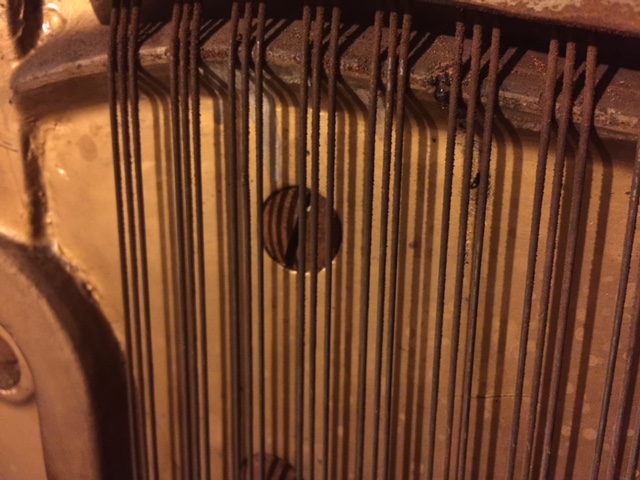
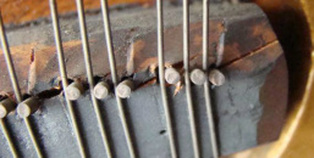
Heavily rusted strings on an old upright
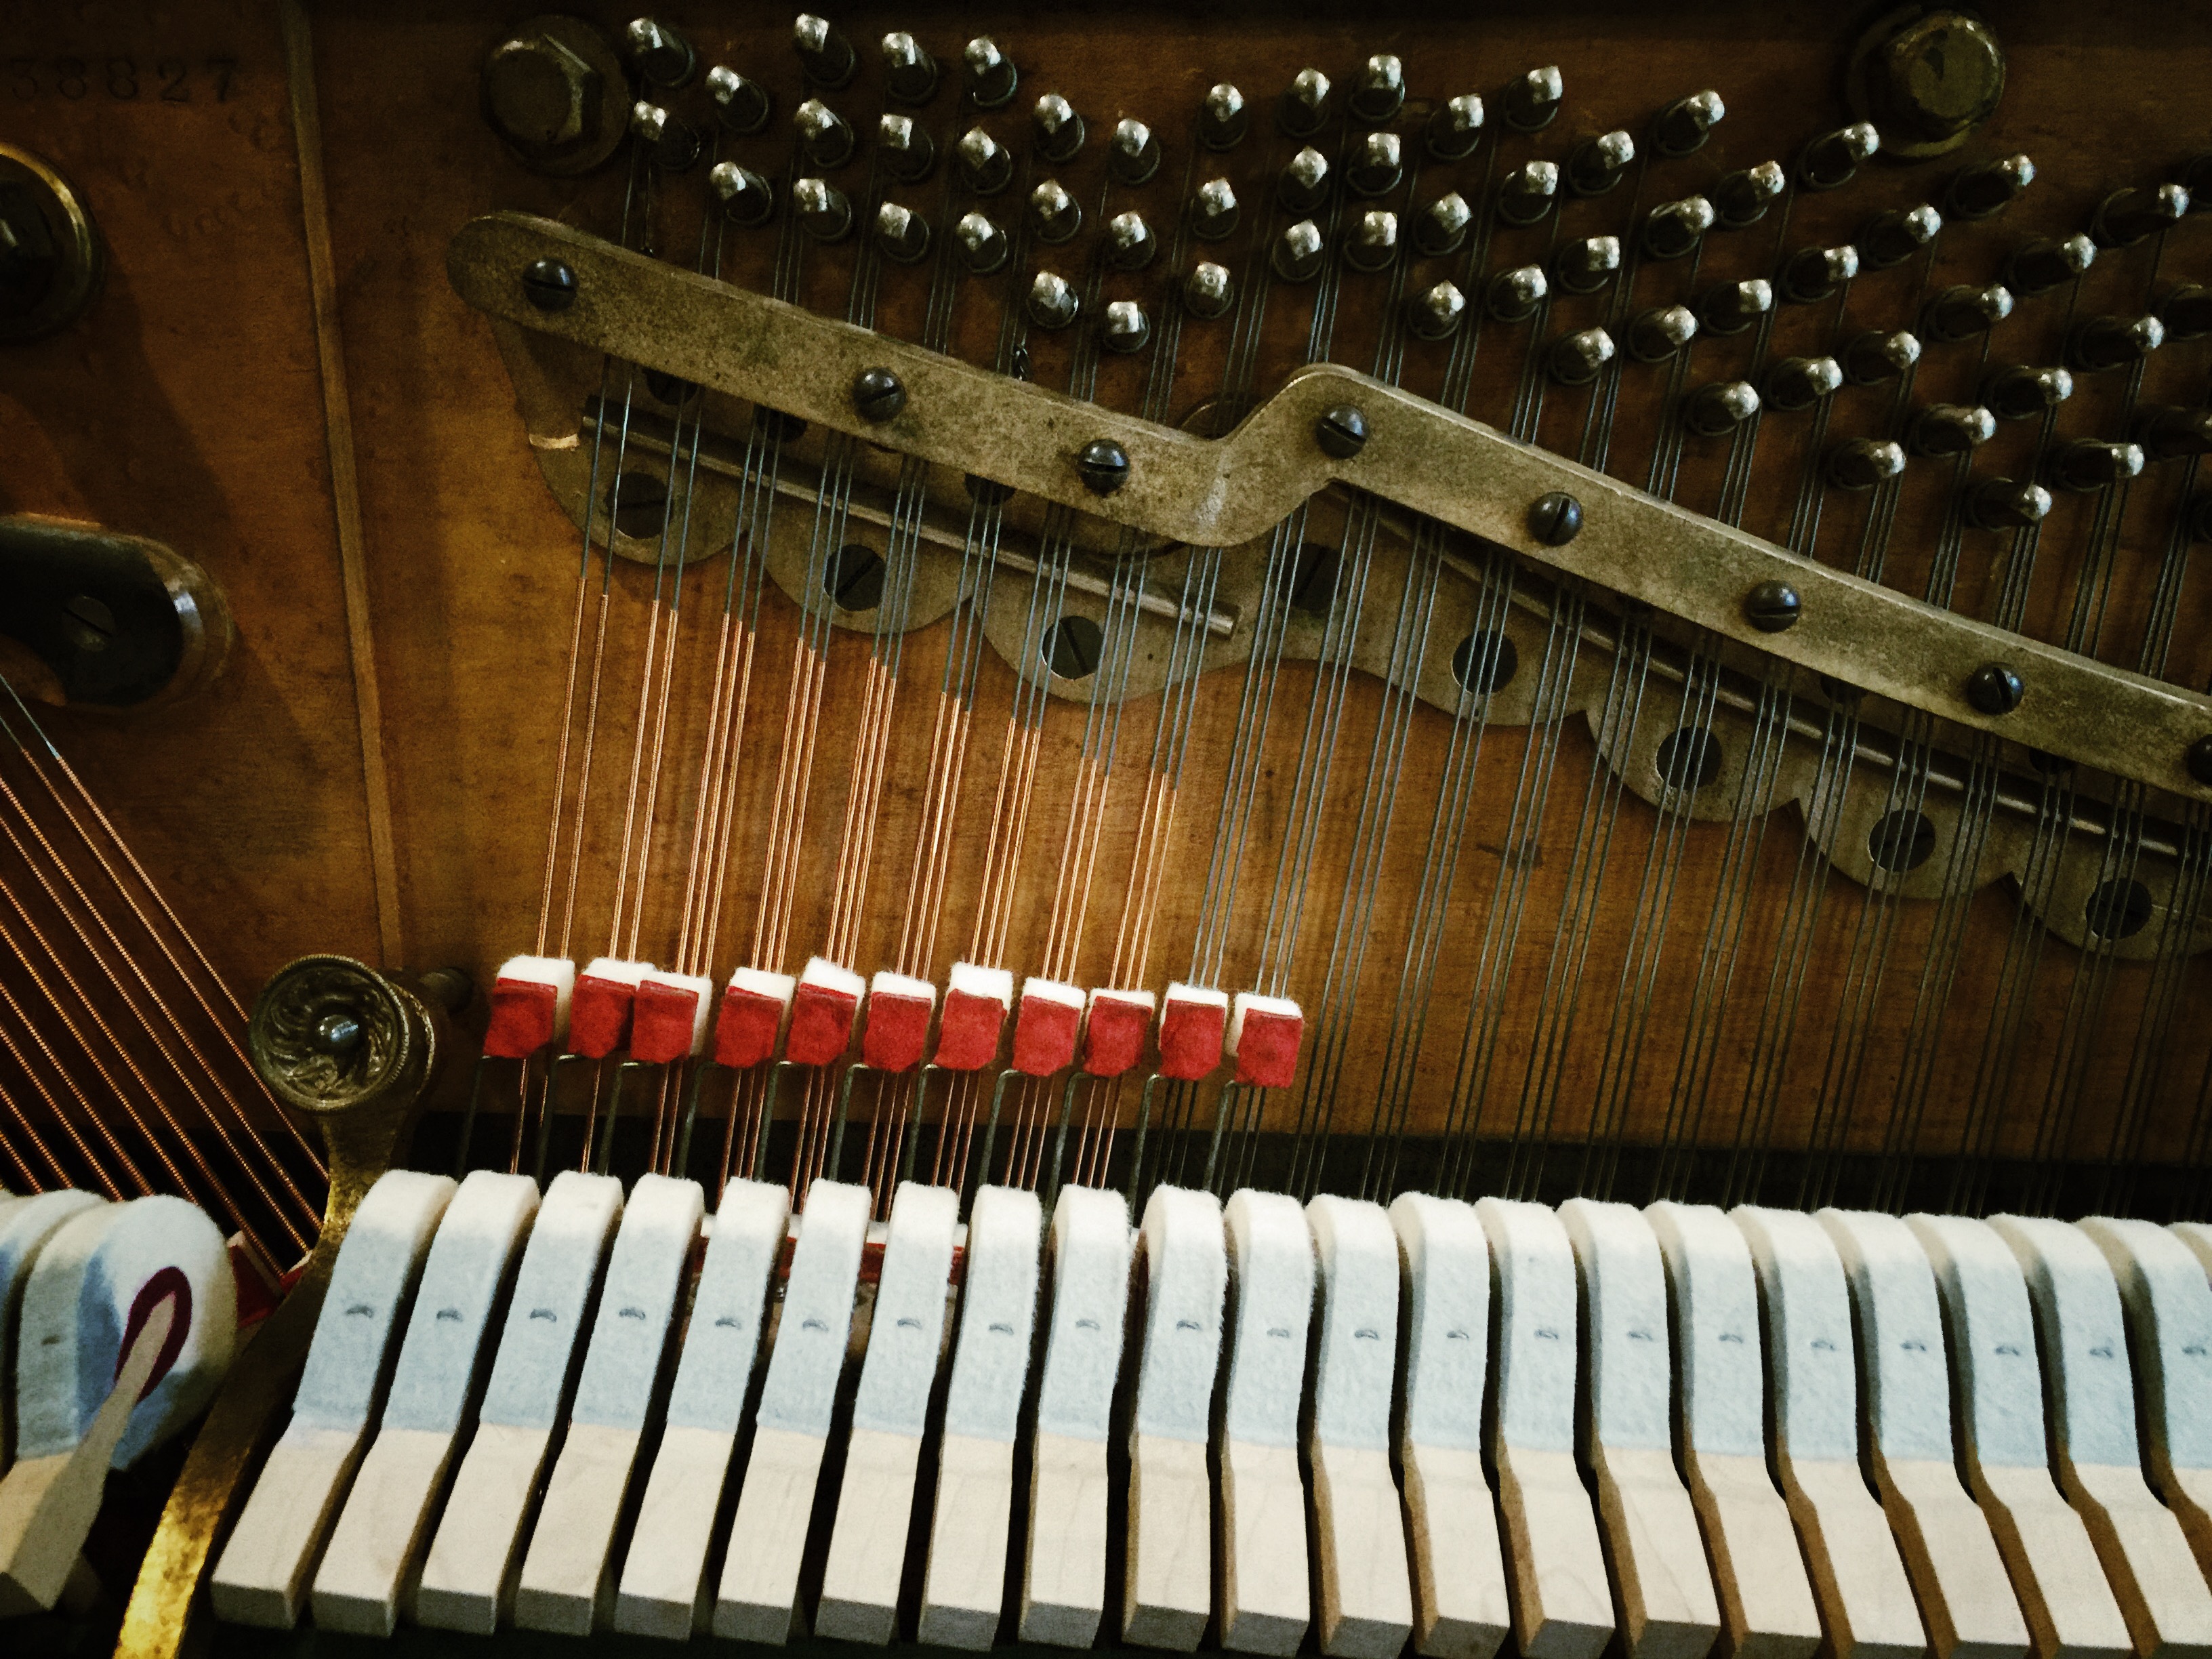
2. The quality and condition of the piano are major factors in tuning stability as well. Quality factors include the style and make of the pinblock, the quality of the steel used in the strings, the precision taken in manufacturing brass wound bass strings, the care taken in making the piano’s bridges, and the angles and precision in the various pressure bearing points along the string.
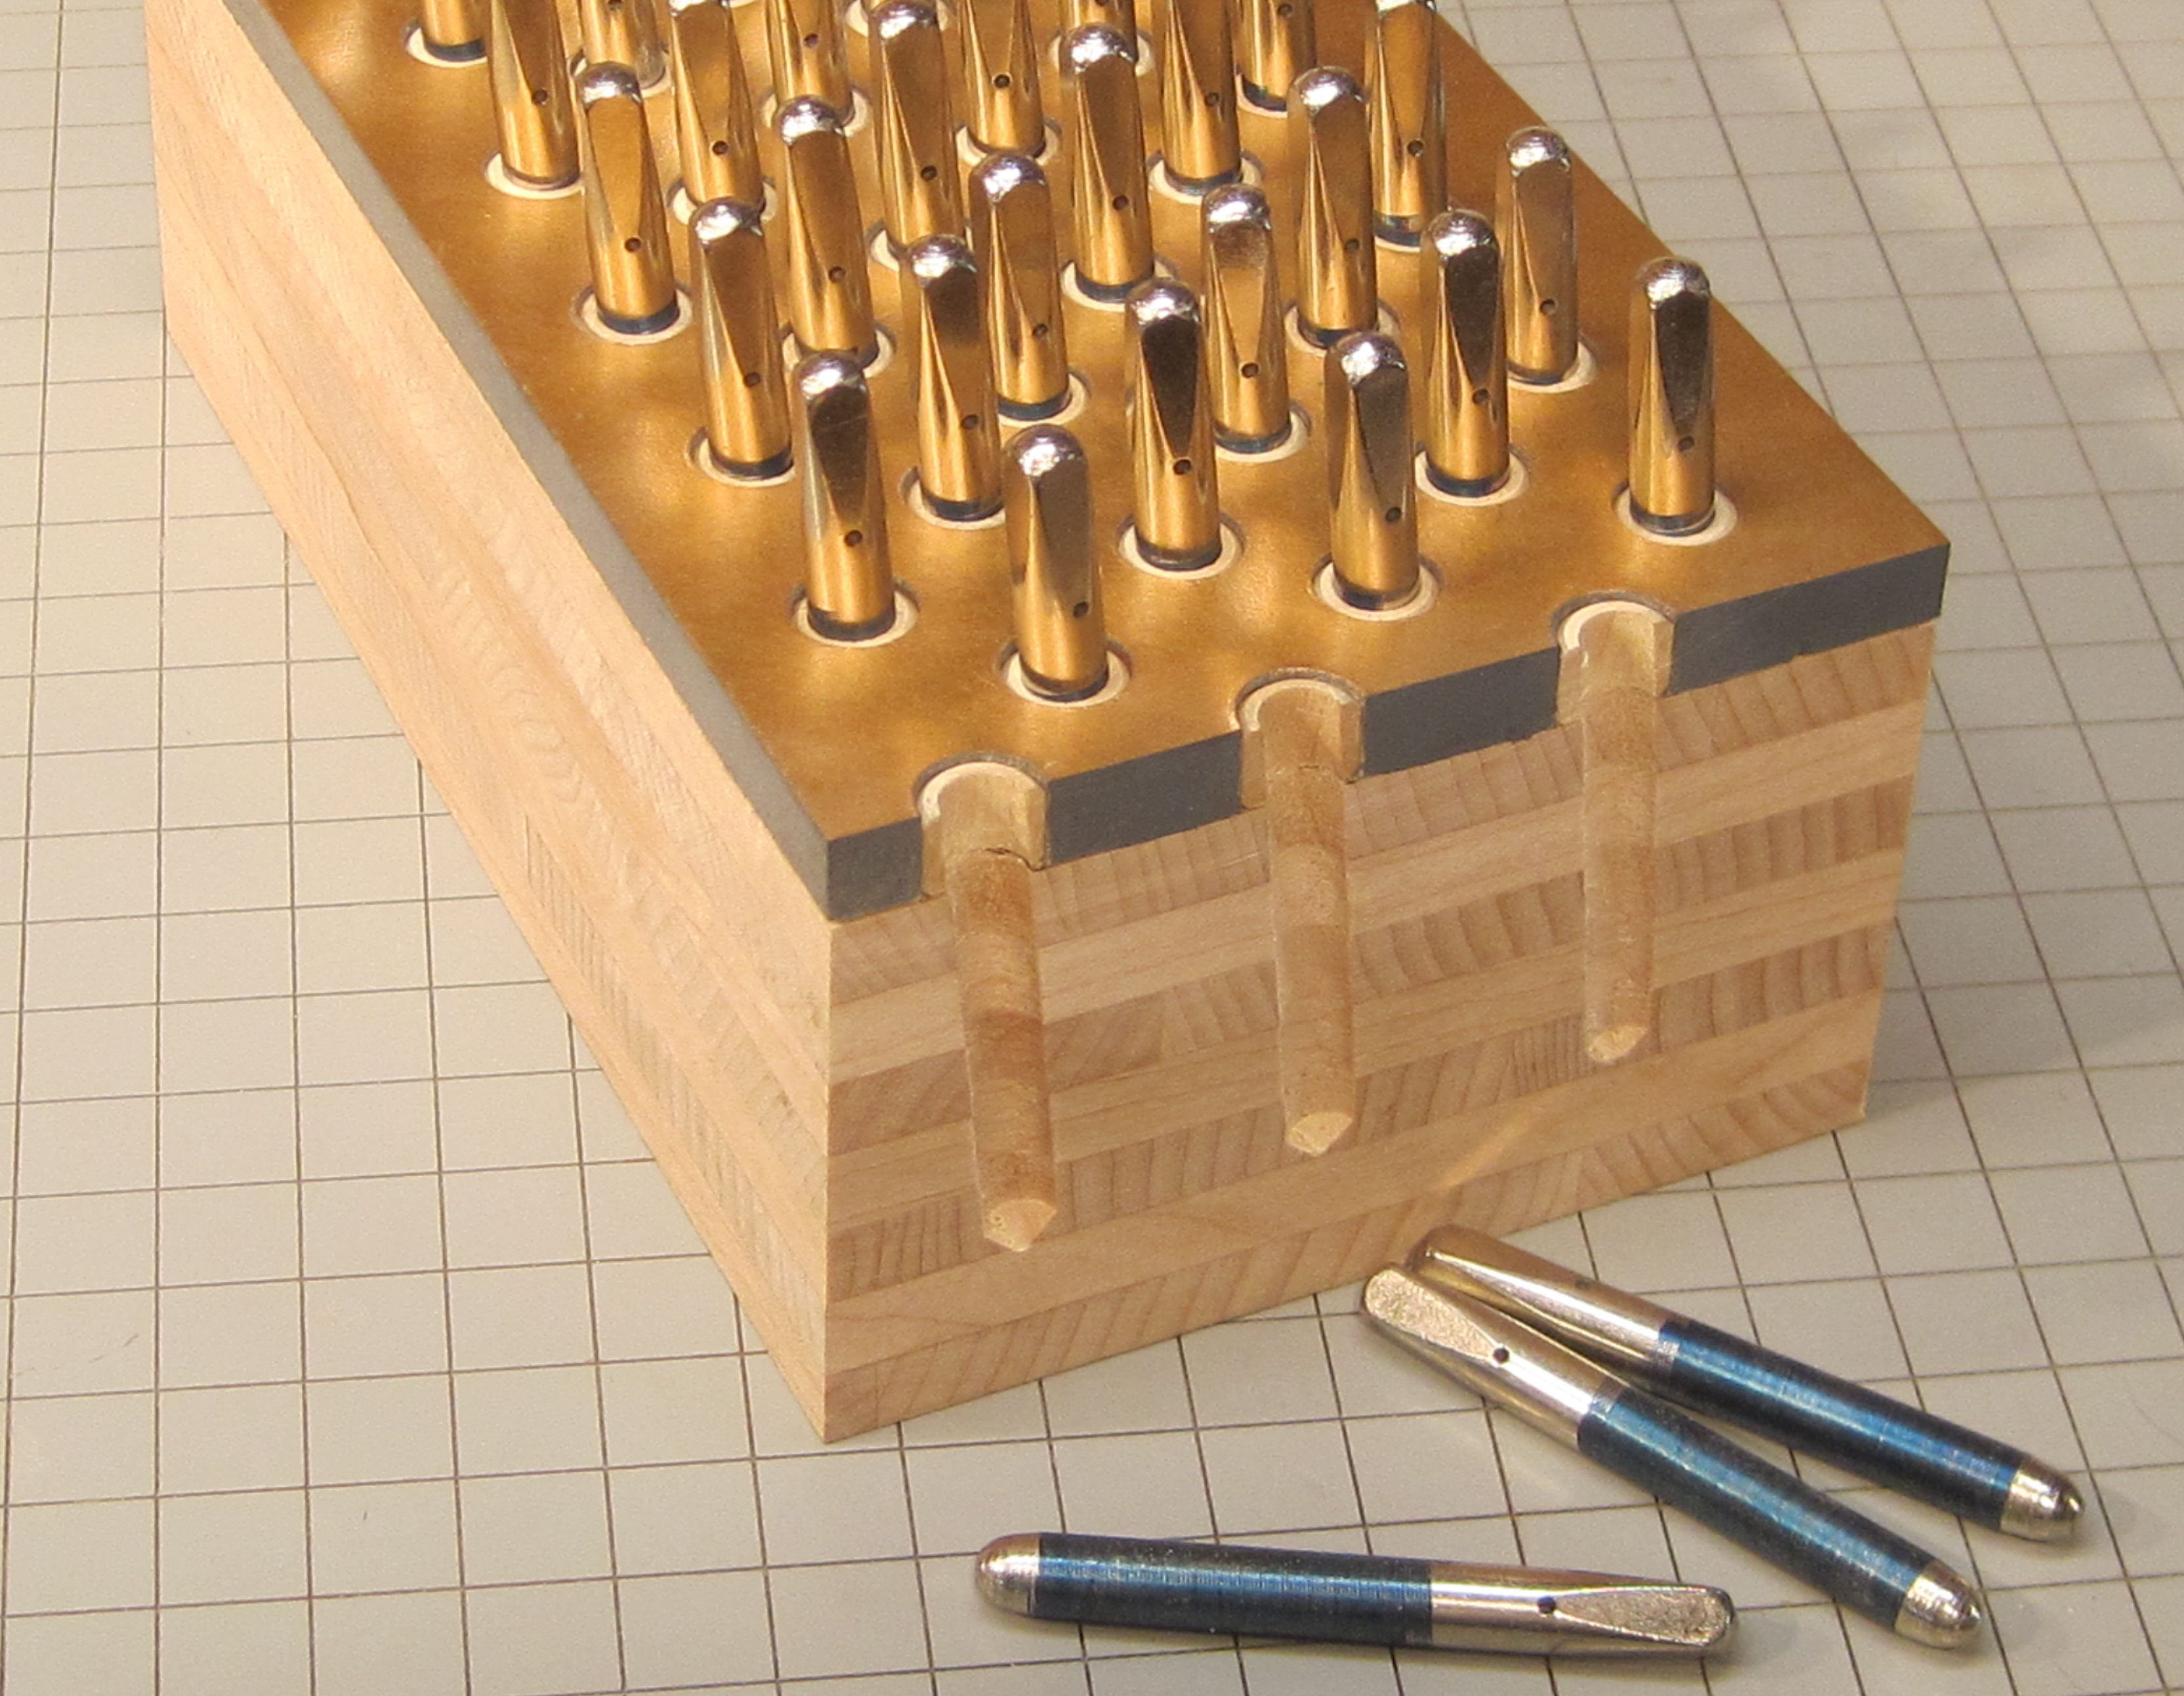
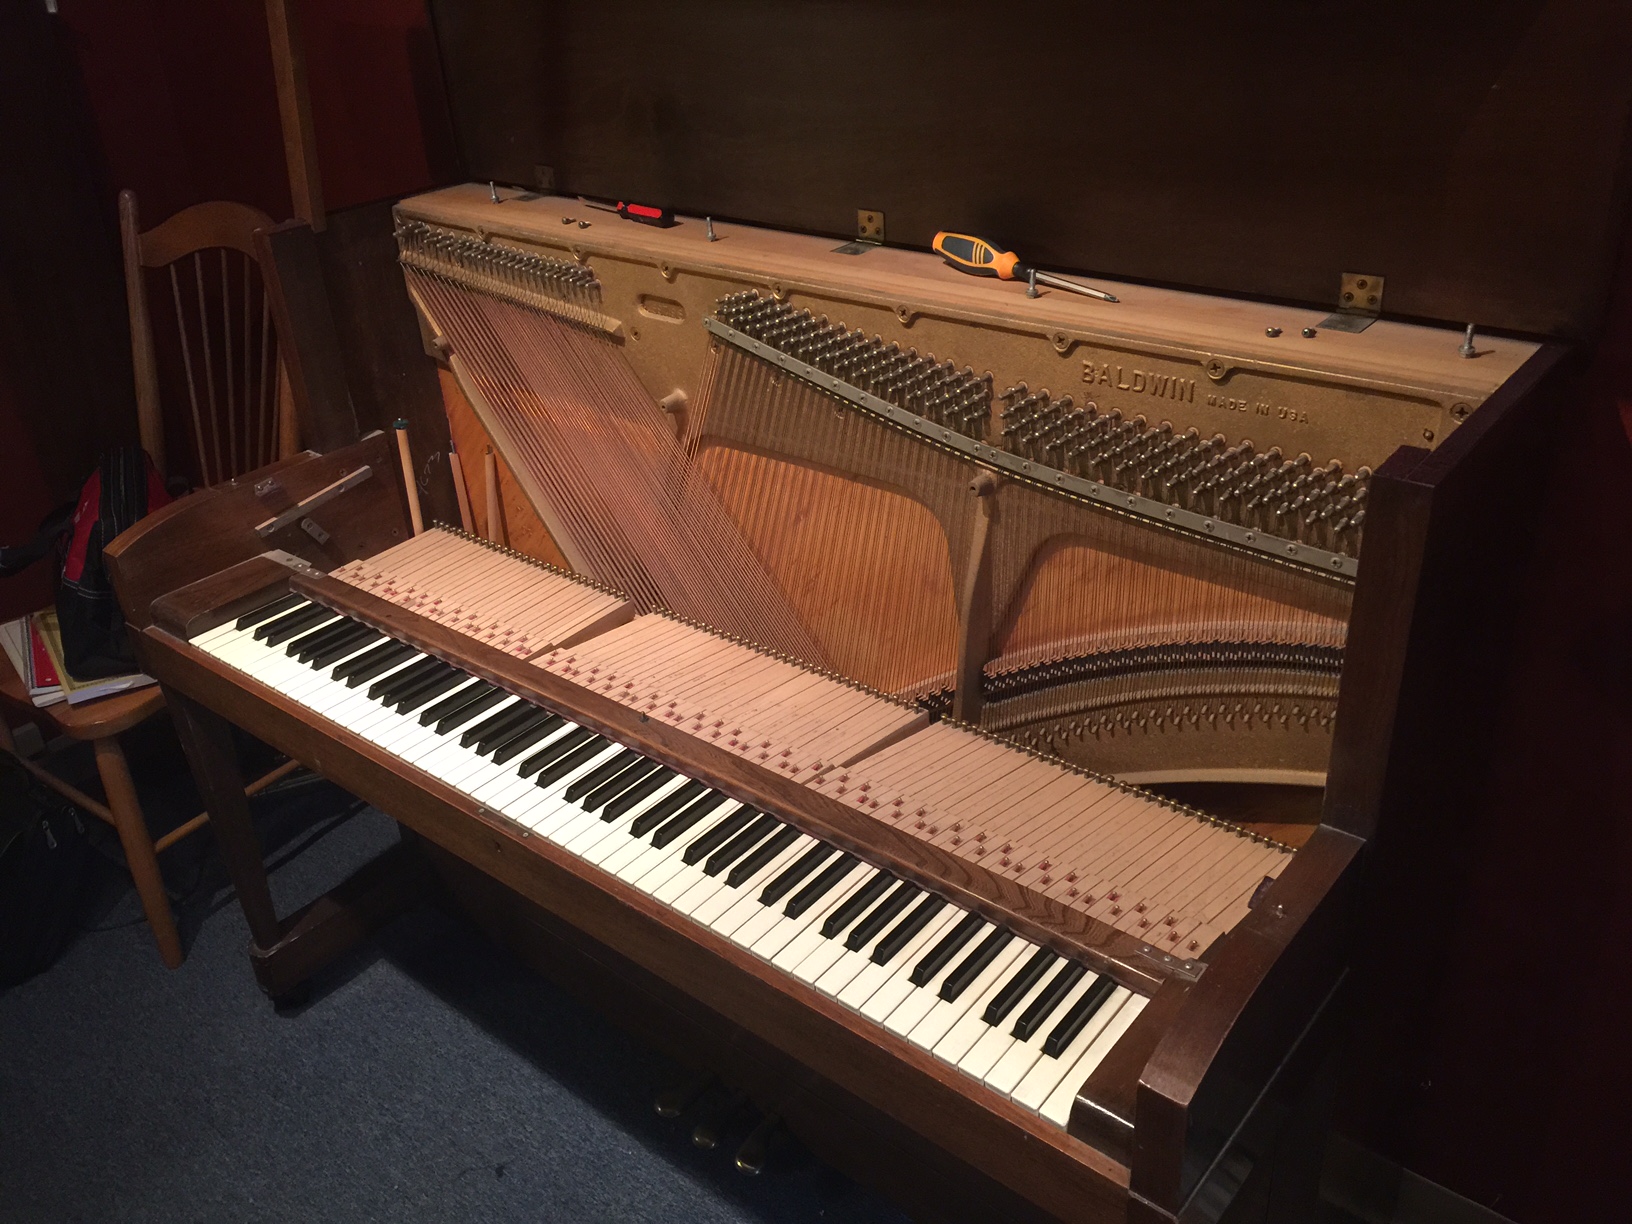
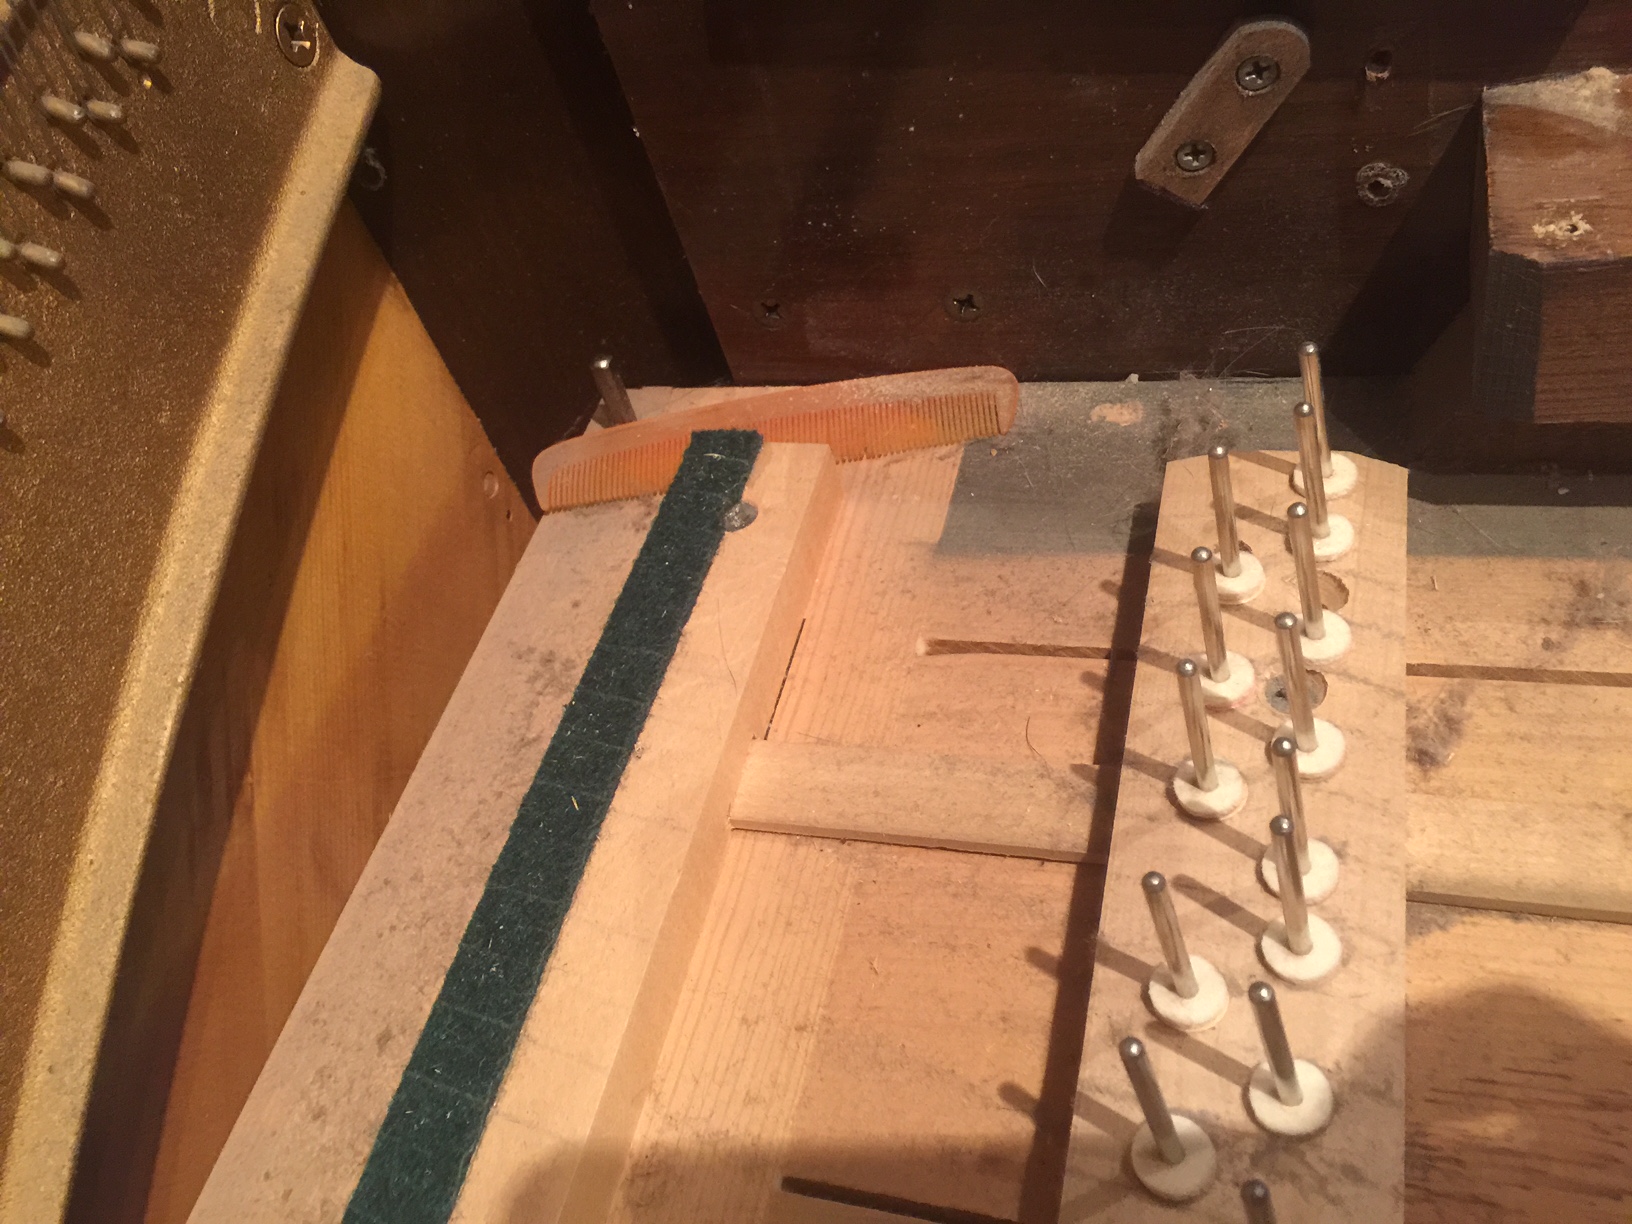
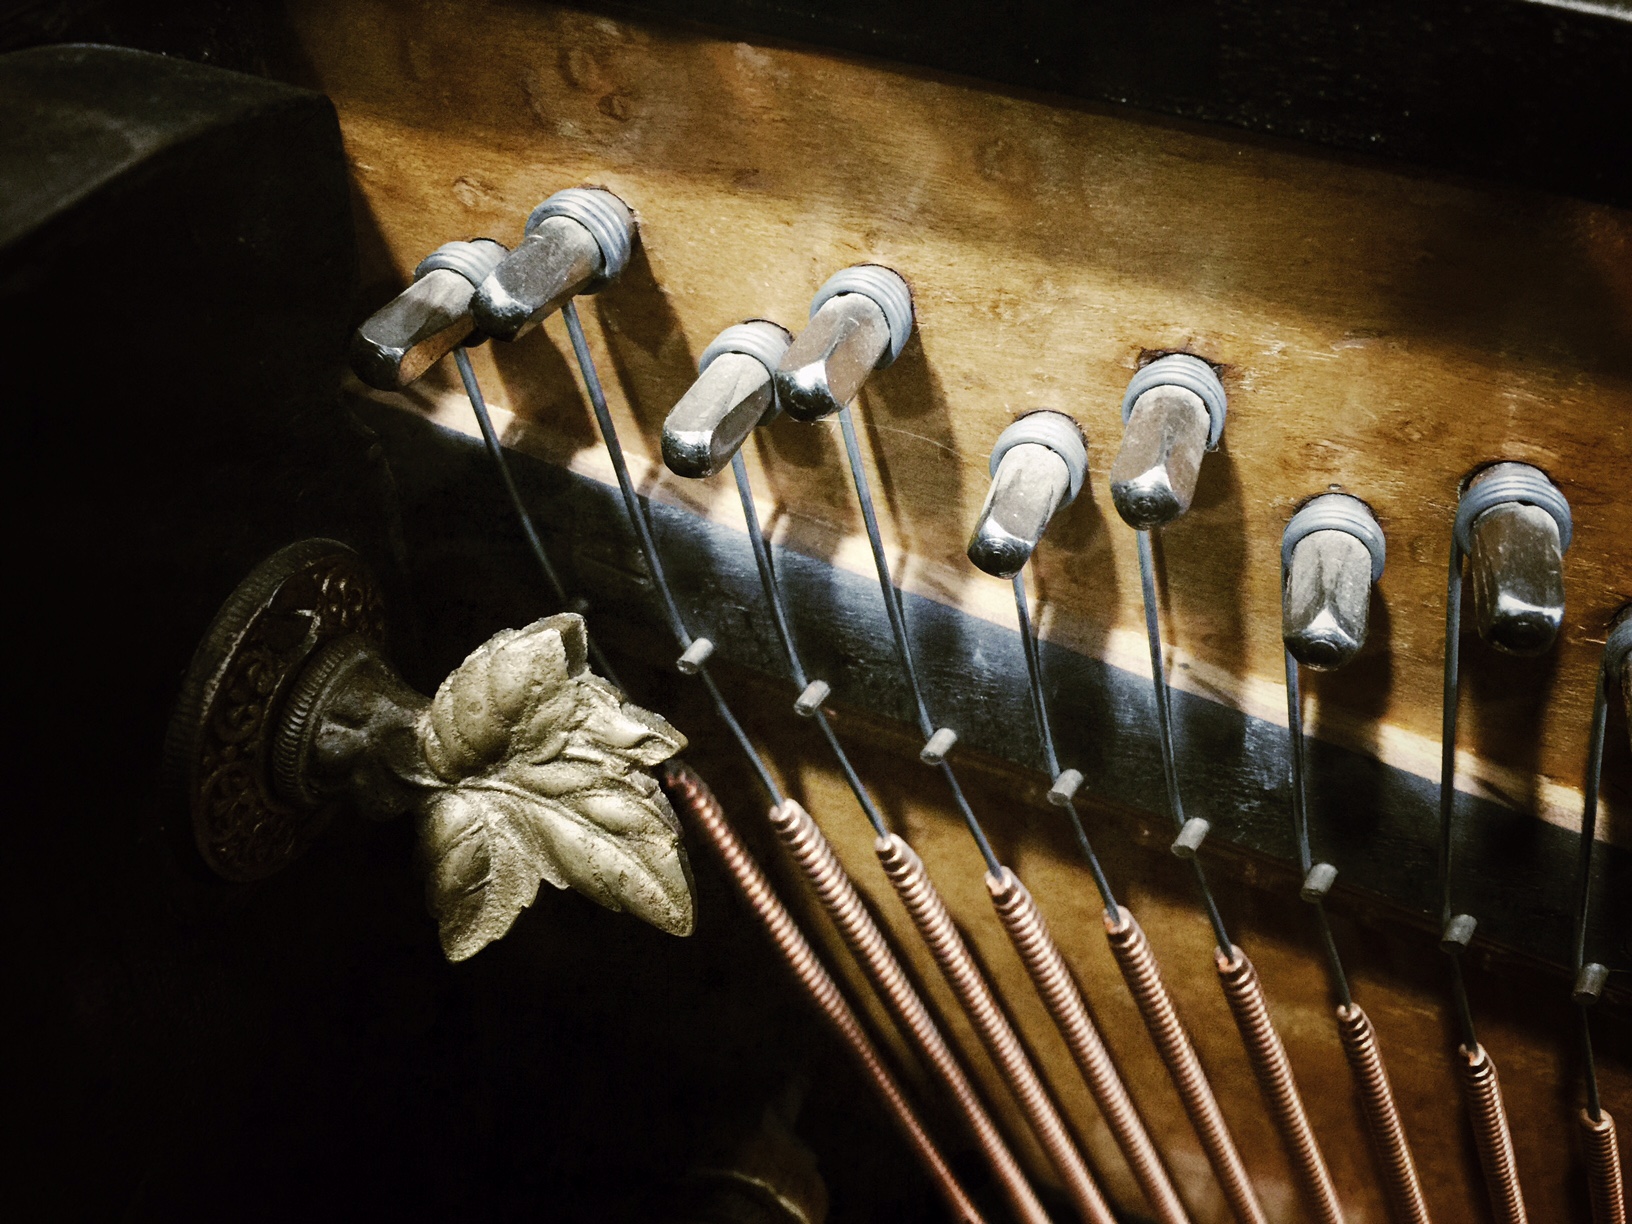
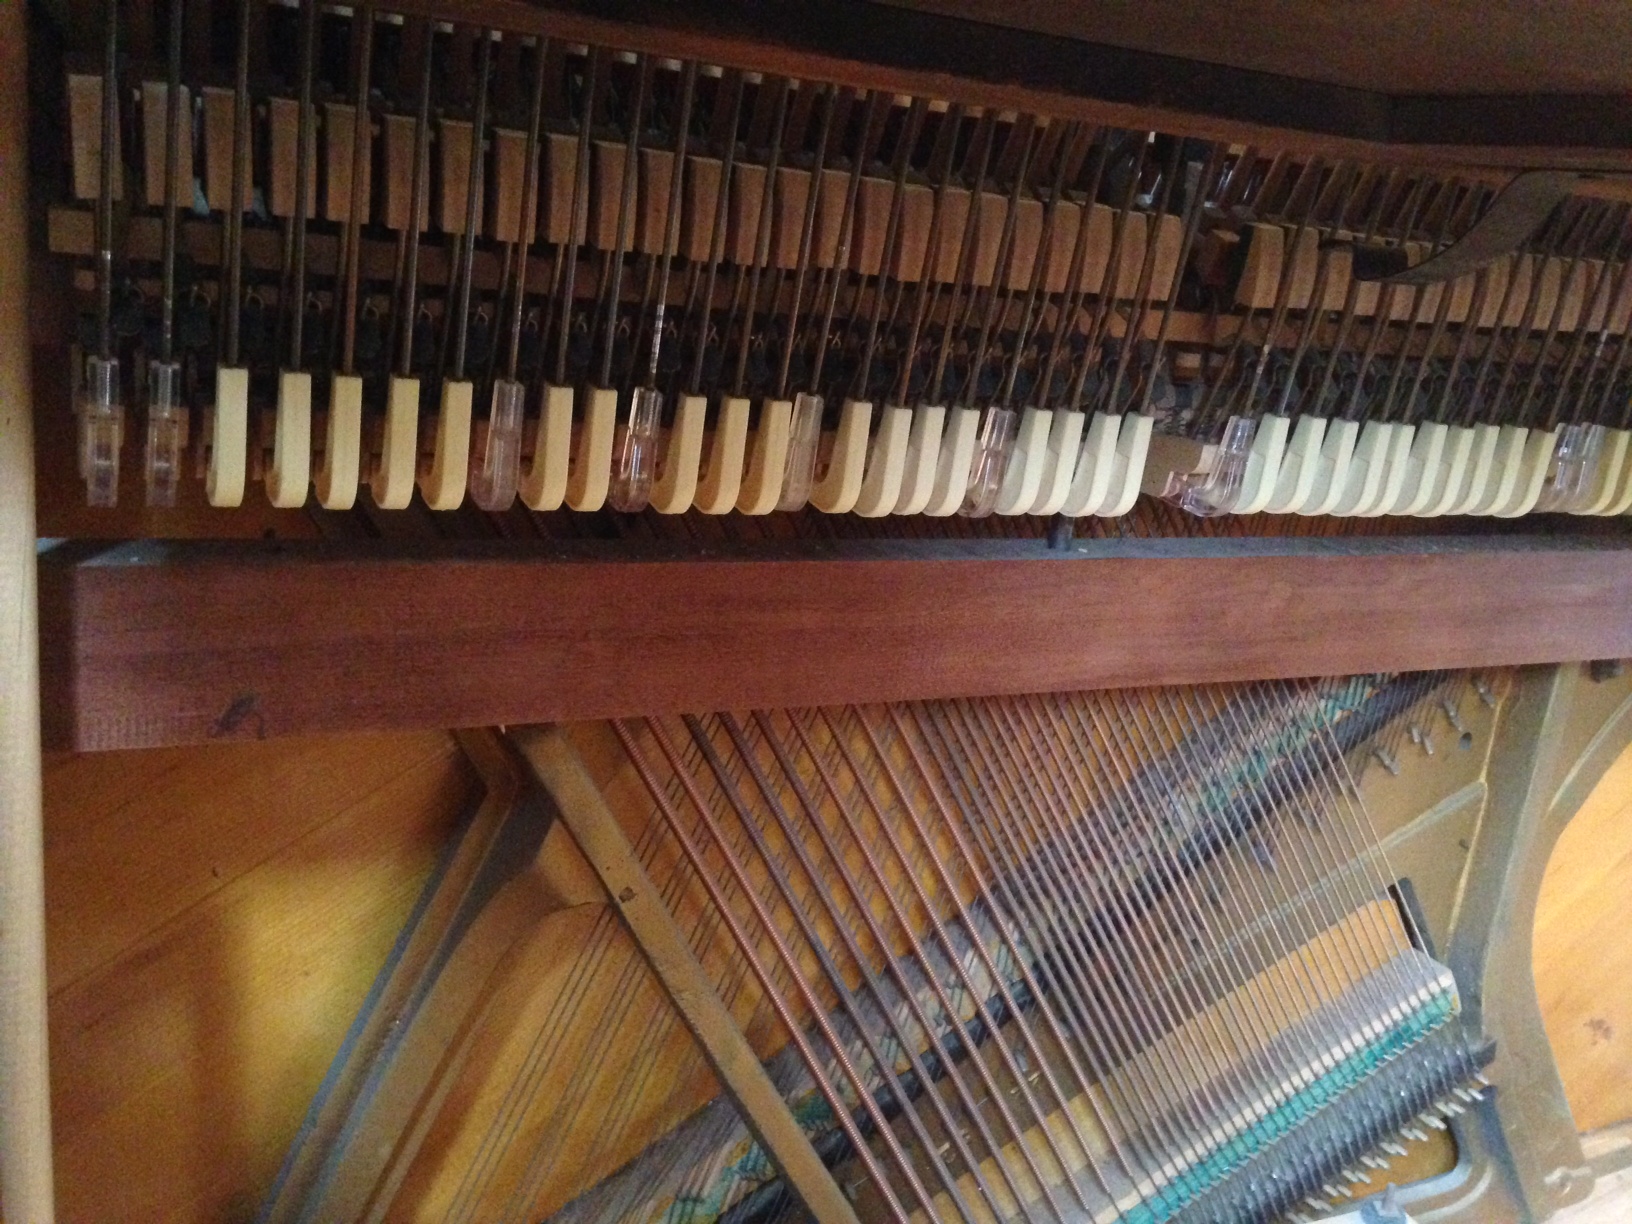
Example of a pinblock and tuning pins
A brand new piano will be unsteady for a couple years just due to the elasticity of new steel strings. The steel will stretch for at least 18 months. After 2 years a new piano has reached “maturity” and will be at its most stable for the next 10-20 years, depending on its environment. As a piano gets older, some parts may begin to wear and make the piano’s tuning less stable again. The steel in the strings wears over the pressure points, the strings grind into the”v-bridge” in the treble, the strings may get corroded so they no longer slide smoothly over the pressure points, and eventually, the pin block could wear out or crack so the tuning pins themselves won’t stay tight. Other major problems that don’t routinely come up can completely destabilize a piano. The cast-iron plate which holds the piano’s 40,000lbs of pressure can crack (very bad!), the soundboard could crack, or the bridges which the pins pass over could crack.

A severely cracked pinblock
The current tension on the strings plays a factor as well. If a piano hasn’t been tuned in many years, the stings usually stretch bringing the piano very flat of A440. If the pitch is raised (or lowered) more than a few “cents” (there are 100 cents between each tone), the pressure load on the piano’s plate and soundboard is drastically altered. It’s quite easy to add 500 lbs of pressure to a piano’s plate while tuning a long-neglected piano. Over the next weeks and months, this pressure will redistribute over the instrument and knock your piano out of tune again!
A cracked upright bridge
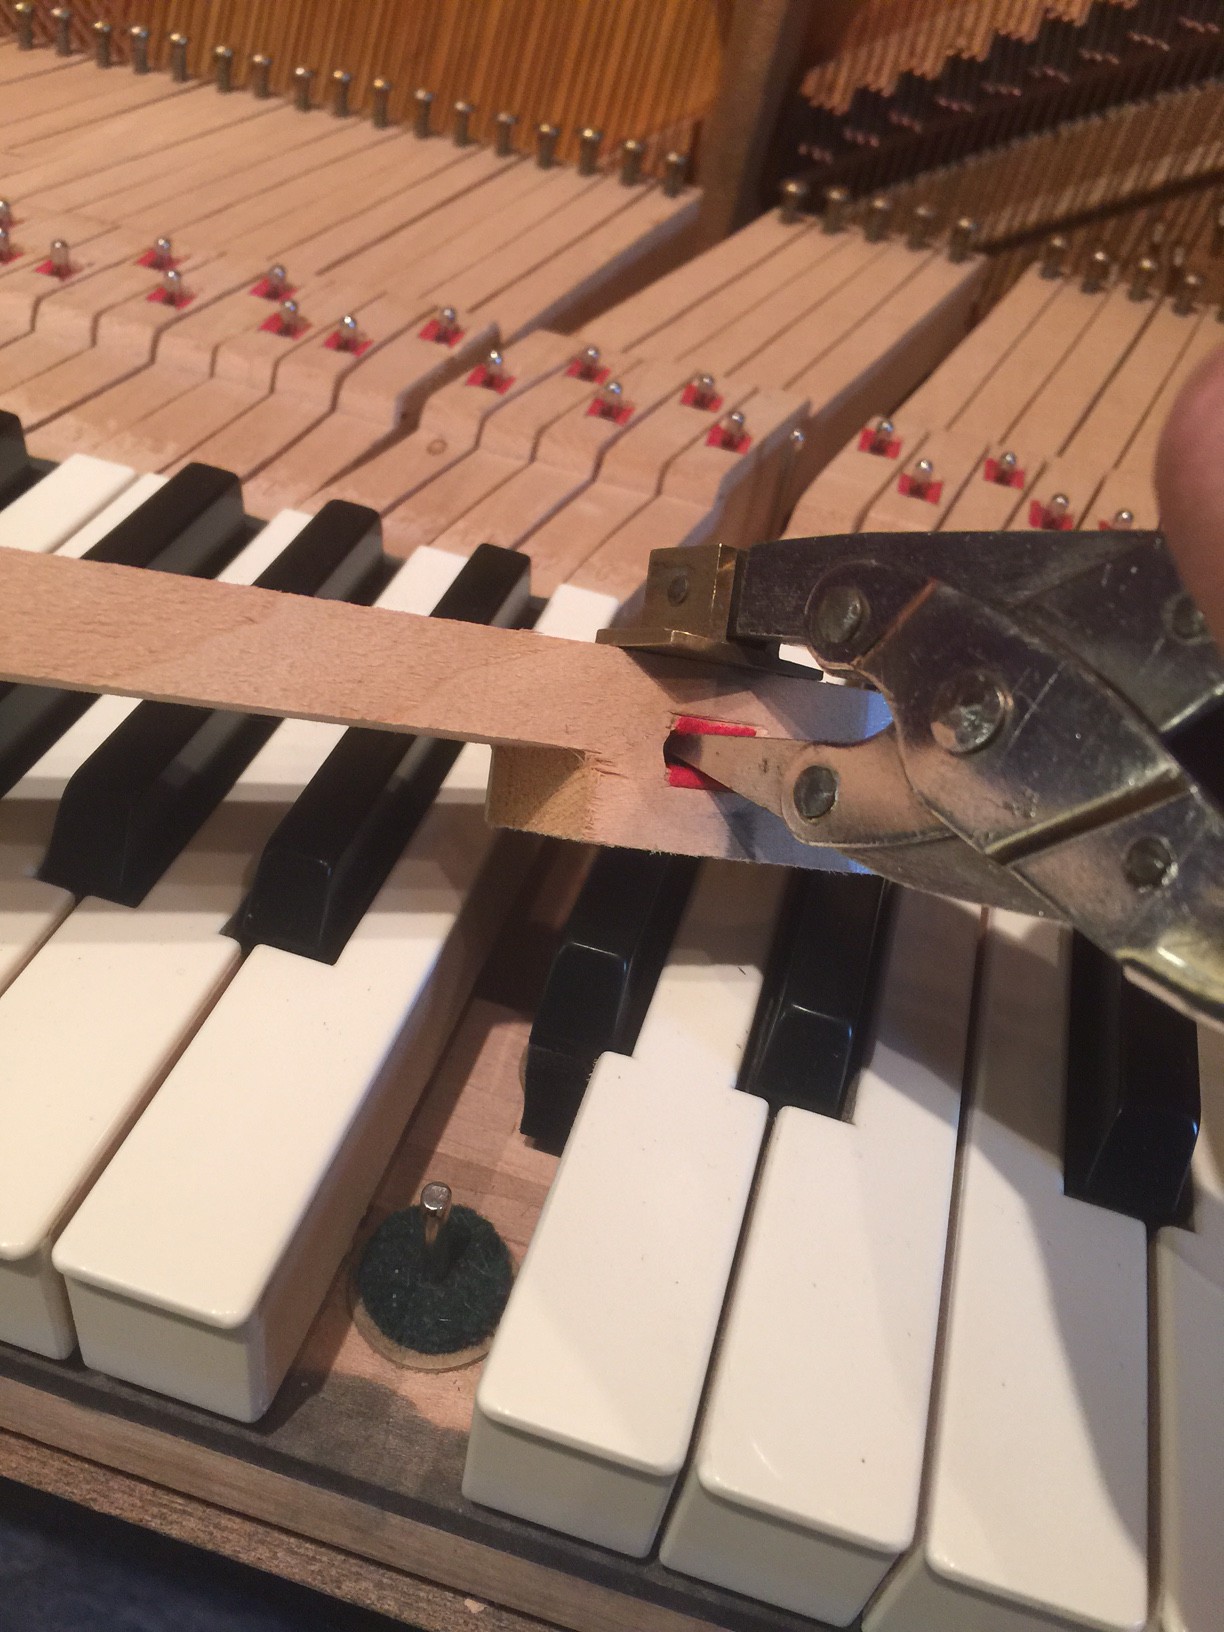
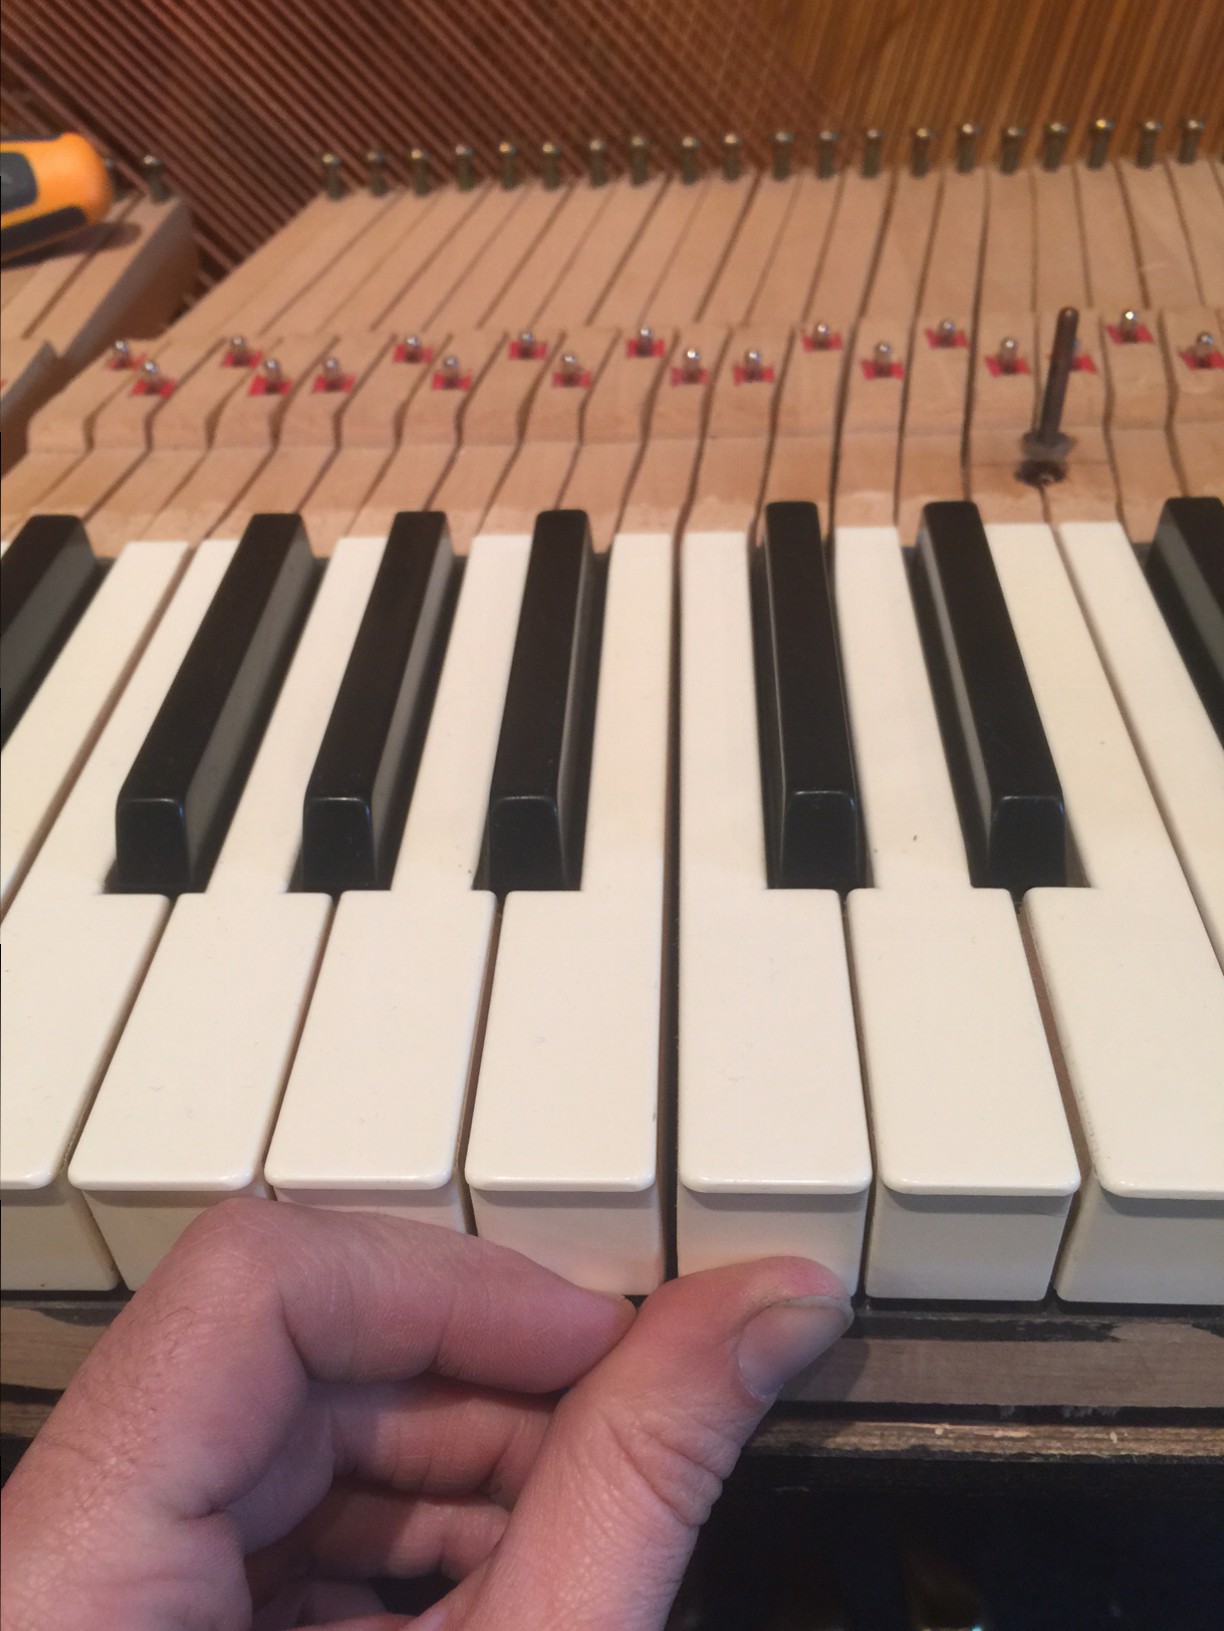
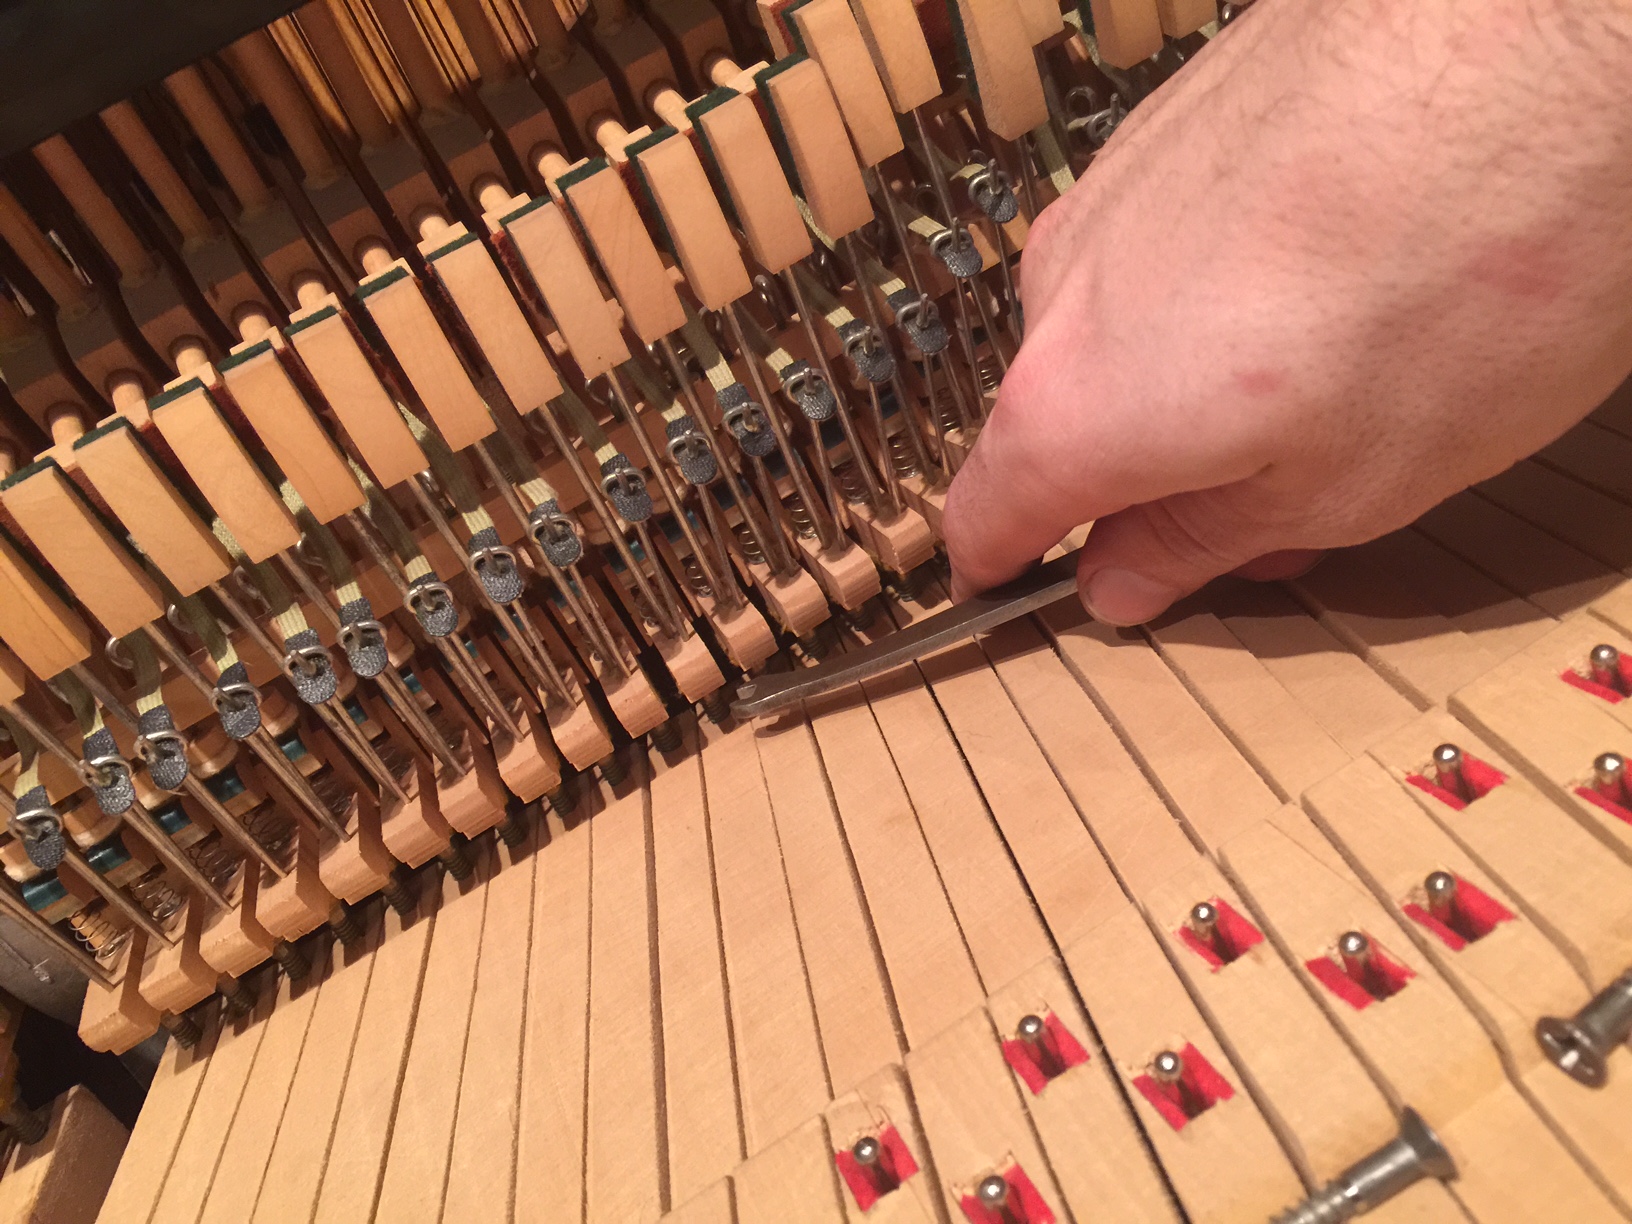
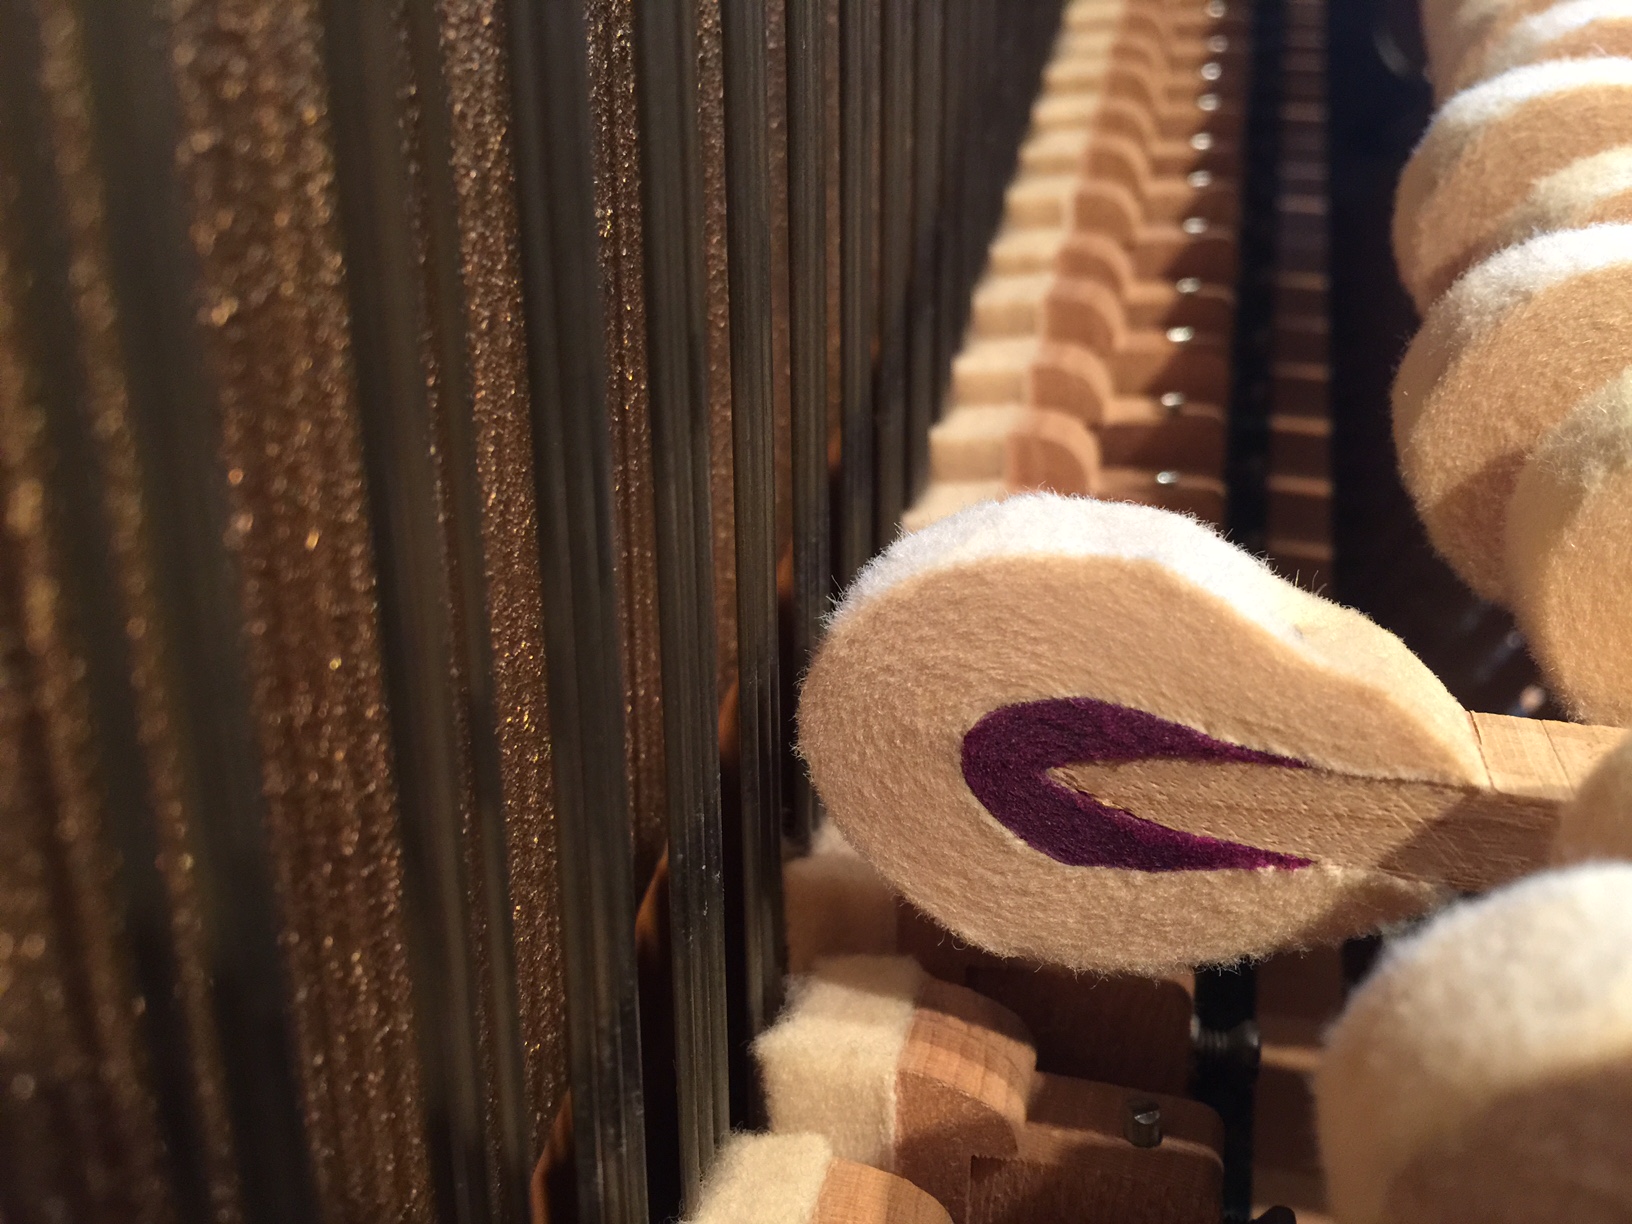
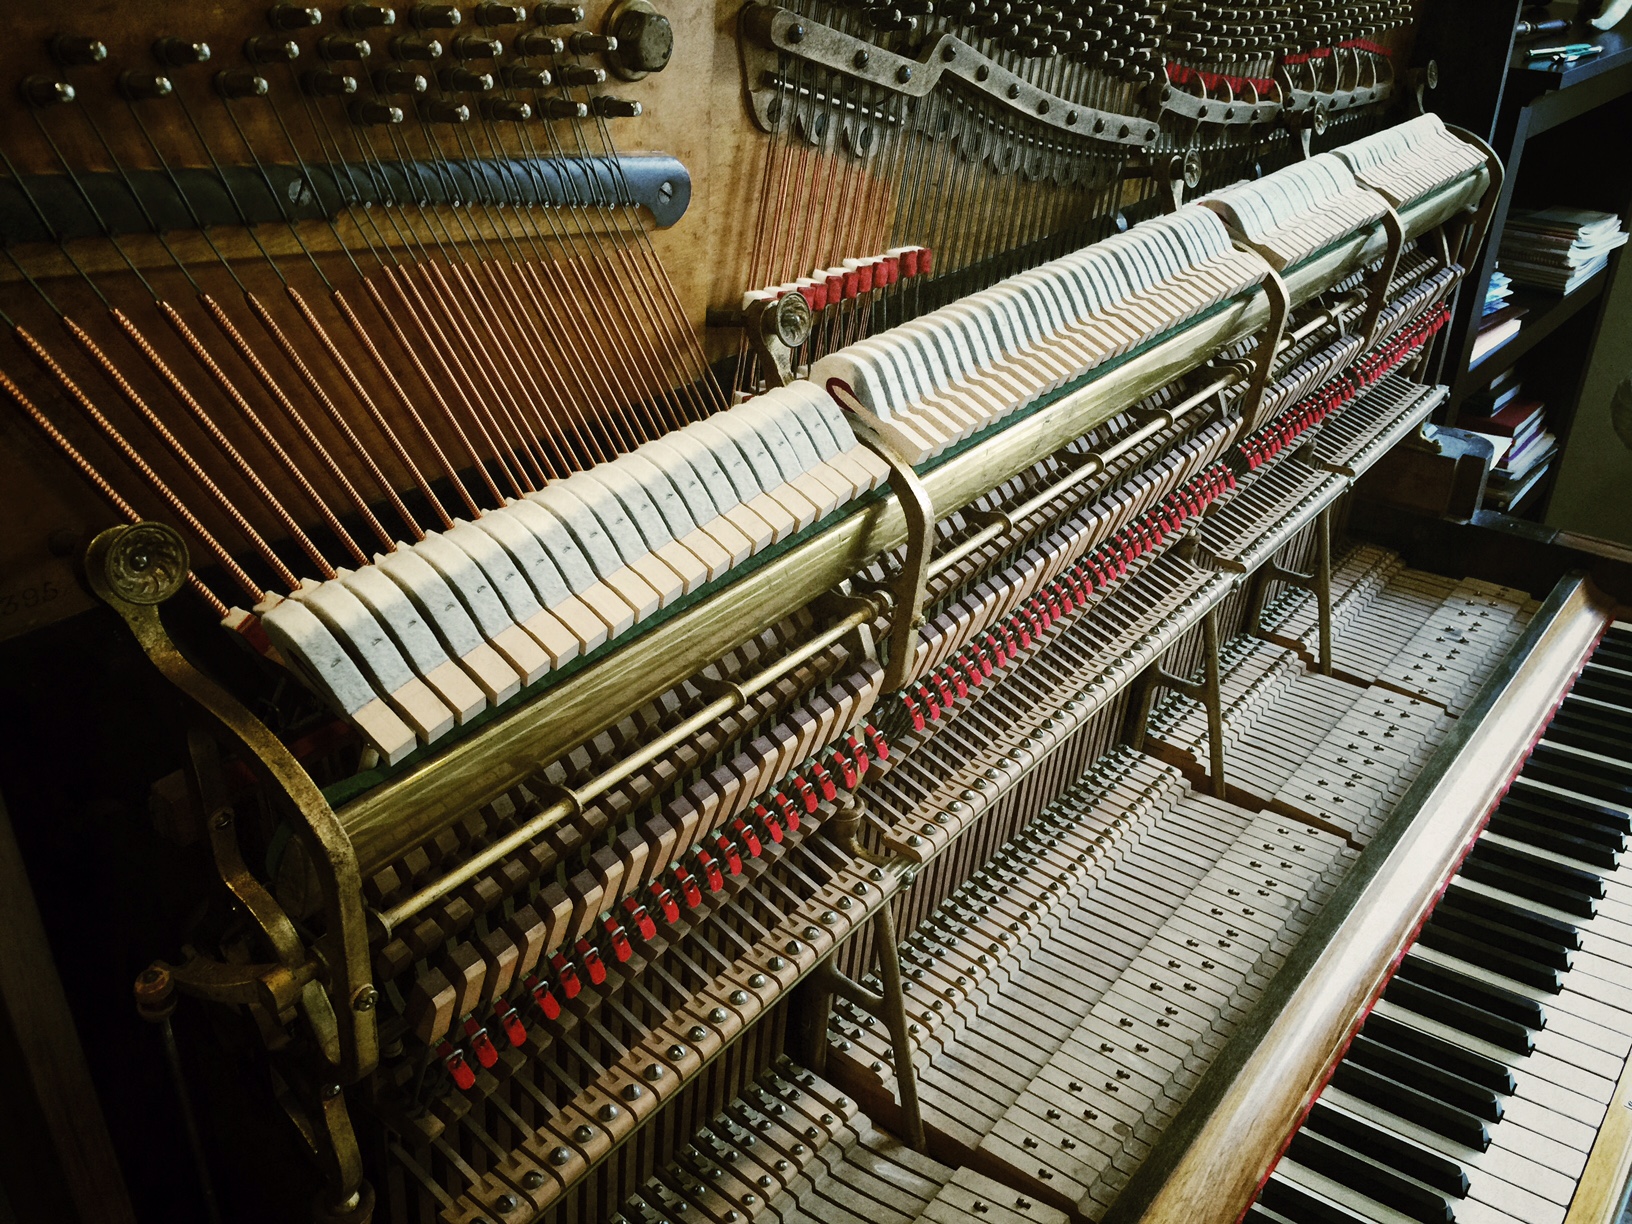
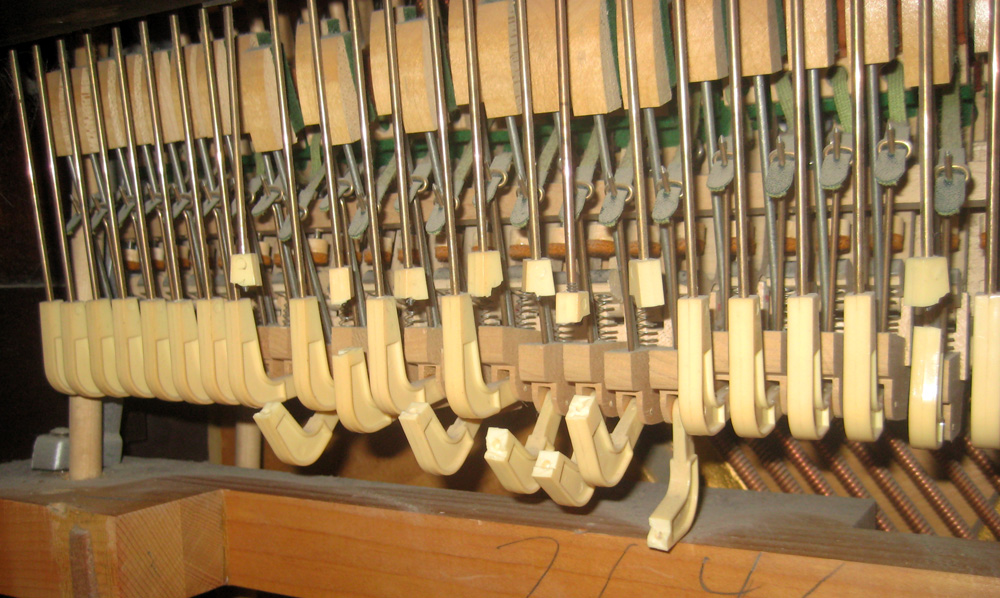
3. The skill of the tuner/the quality of the tuning is the last factor in how long your piano’s tuning will last. Tuning a piano is tricky and complicated! Some technician’s tunings last longer than others. Some of this difference is observable technique, and some is just a tuner’s touch! Understanding how the piano works, how the string is divided into several (usually 4-5) different tension bearing sections, and how the tuning pin can be manipulated will help in getting a solid, long-lasting tuning. I use firm key blows while tuning to help equalize the tension over all four distinct sections of the string. The more intensely the string vibrates on a strong “test blow,” the better those several segments will equalize. If this isn’t done well, the first time a strong player plays something loud on the instrument, the strings will equalize, and it will go out of tune.
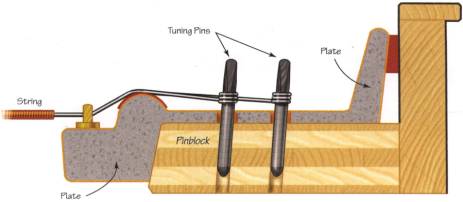
The manipulation of the tuning pin itself is also very important. The tuning pin is a round, ridged steel rod about 2.5″ long driven into the hard pinblock. Since it is steel, it can bend a good bit, side to side and forward and back. If you use the wrong technique, its possible to twist the pin’s tip outside the pinblock so the note is in tune, but as that steel bends back, the note will go out of tune in a few days.
I hope this was helpful to you and if you have any questions, feel free to give me a call!